One of my favorite things to do is re-use and add detail to furniture and window treatments. You can re-use things by making small modifications and adding design details. Today I will show you how to turn a vanity into a changing table. I will also show you how to add design detail to a window valance and crib skirt. First we will start with turning a vanity into a changing table.
Changing Table

This is the antique vanity that was my mothers and mine when we were little girls. I want my daughter Nora to also have this vanity in her room to carry on the tradition. At three months she is not ready to use a vanity just yet and I don't have a spot in our home. I thought why not use it now by turning it into a changing table. Here is how I did it!
Items you will need:
- Vanity
- Staple Gun
- Heavy Duty Velcro
- 7" Bed Lifts - Can be found at
Bed Bath and Beyond- Plywood Board - Cut to the length and width of vanity top
-
Cotton Batting -
Oil Cloth-
Diaper Changing Pad-
3-4 Ready Made Window Valances-
Coordinating Crib SkirtStep 1 Changing Table Top
Purchase and cut a plywood board to the length and width of your vanity top. If you are not handy with a saw visit Home Depot and they will cut it to your desired size at no cost.

Step 2 Upholster the Top
Purchase a scrubbable and water proof fabric such as a oil cloth or vinyl. I selected a retro pink floral at one of my favorite local stores
Gypsy Wagon. You will also need to purchase cotton batting from your local craft supply store. The batting will soften the changing table top. Staple gun the batting neatly on the plywood board then staple the oil cloth over the batting. Attach the top with heavy duty Velcro in each corner of the top. Secure your changing table pad and you have just completed the top portion of your table.

Step 3 Lift the Vanity to Changing Height
Purchase 7" bed lifts from Bed Bath and Beyond to lift the vanity making it close to 32" in height. Get the help of two strong people to help you place the lifts under the vanity legs.

Step 4 Skirt the Vanity
Purchase three ready made window valances in the fabric of your choice and a tension rod to fit the vanity opening width. You will need enough valances to wrap around the bottom of the vanity and cover the upper opening of the vanity. You may also order a valance for the window and coordinating crib skirt.

Step 5 Add Ribbon and Trim Detail
Visit your local fabric store and select fun ribbon and trims. Stitch them in rows onto the vanity skirts/valances to give it a custom look. Add cotton eyelet trim to the bottom of the valance to get the desired length and cover the bed lifts. Be sure to get enough ribbon to add onto your coordinating bed skirt and window valance (that is being used on the window). After sewing on your trim and ribbon cut your valances into 4 separate pieces. One for the bottom front skirt, two for the sides and one small skirt for the upper opening of the vanity. Sew the ends of each section to give it a finished look. Attach the bottom skirt with Velcro and the top skirt with the tension rod.

Step 6 Add Accessories and Diaper Supplies
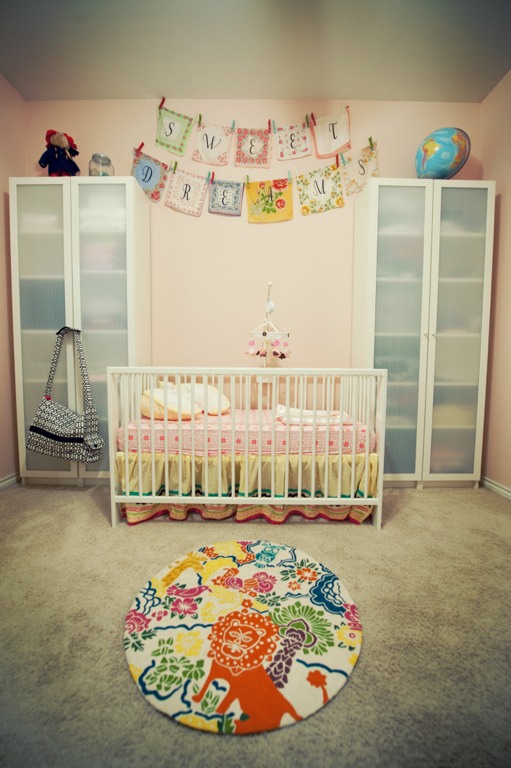
Add accessories for your baby to look at like a colorful fabric banner hanging on the mirror. Nora loves to stand and try and reach her banner. She also loves looking in the mirror and wonders who that cool baby is looking at her. Fill the drawers with diaper changing supplies. I even placed a basket in the opening to store diapers. Plug in your diaper wipe warmer and you are ready for diaper changing in the most stylish way.
Step 7 Enjoy Changing Diapers!


Do you have a cool changing table or nursery idea? Please share it with me!
Contact
Decorator in a Box at
www.mydiab.com to create your online custom design in the most financially savvy way!